• home
    • Recent Work
    • Colour
    • Black & White
    • Fine art prints registry
    • Harvesting Light - 2016
    • Beyond Space and Time - 2024
    • LEE100 Holder - Review
    • LEE100 Hood - Review
    • ONDU 6x12 RISE - Review
    • ILFORD GALERIE TESUKI-WASHI ECHIZEN - Review
    • Blog #1 - An Ode to Silence
    • Blog #2 - About Time
    • Blog #3 - Finding Zen
    • Blog #4 - In search of the Genius Loci
    • Blog #5 - Desolate Beauty
    • Blog #6 - Rediscovering Malta
    • Blog #7 - An Inspired Revelation
    • Blog #8 - Time Sculptures
    • Blog #9 - From Chaos come Order
    • Blog #10 - Parallel Dimensions
    • Blog #11 - Moments of Solitude
    • Blog #12 - Stonehenge
    • Blog #13 - Terra Sarda
    • Blog #14 - The importance of choosing the printing lab
    • Blog #15 - Journey to a Solo Exhibition
    • Blog #16 - Photography Adventure in Dorset: A Return to the Jurassic Coast
  • about
  • contact
Menu

Keith Ellul Fine Art Photography, Malta

Santa Margerita
San Ġwann
(356) 79972668
Fine art Photography

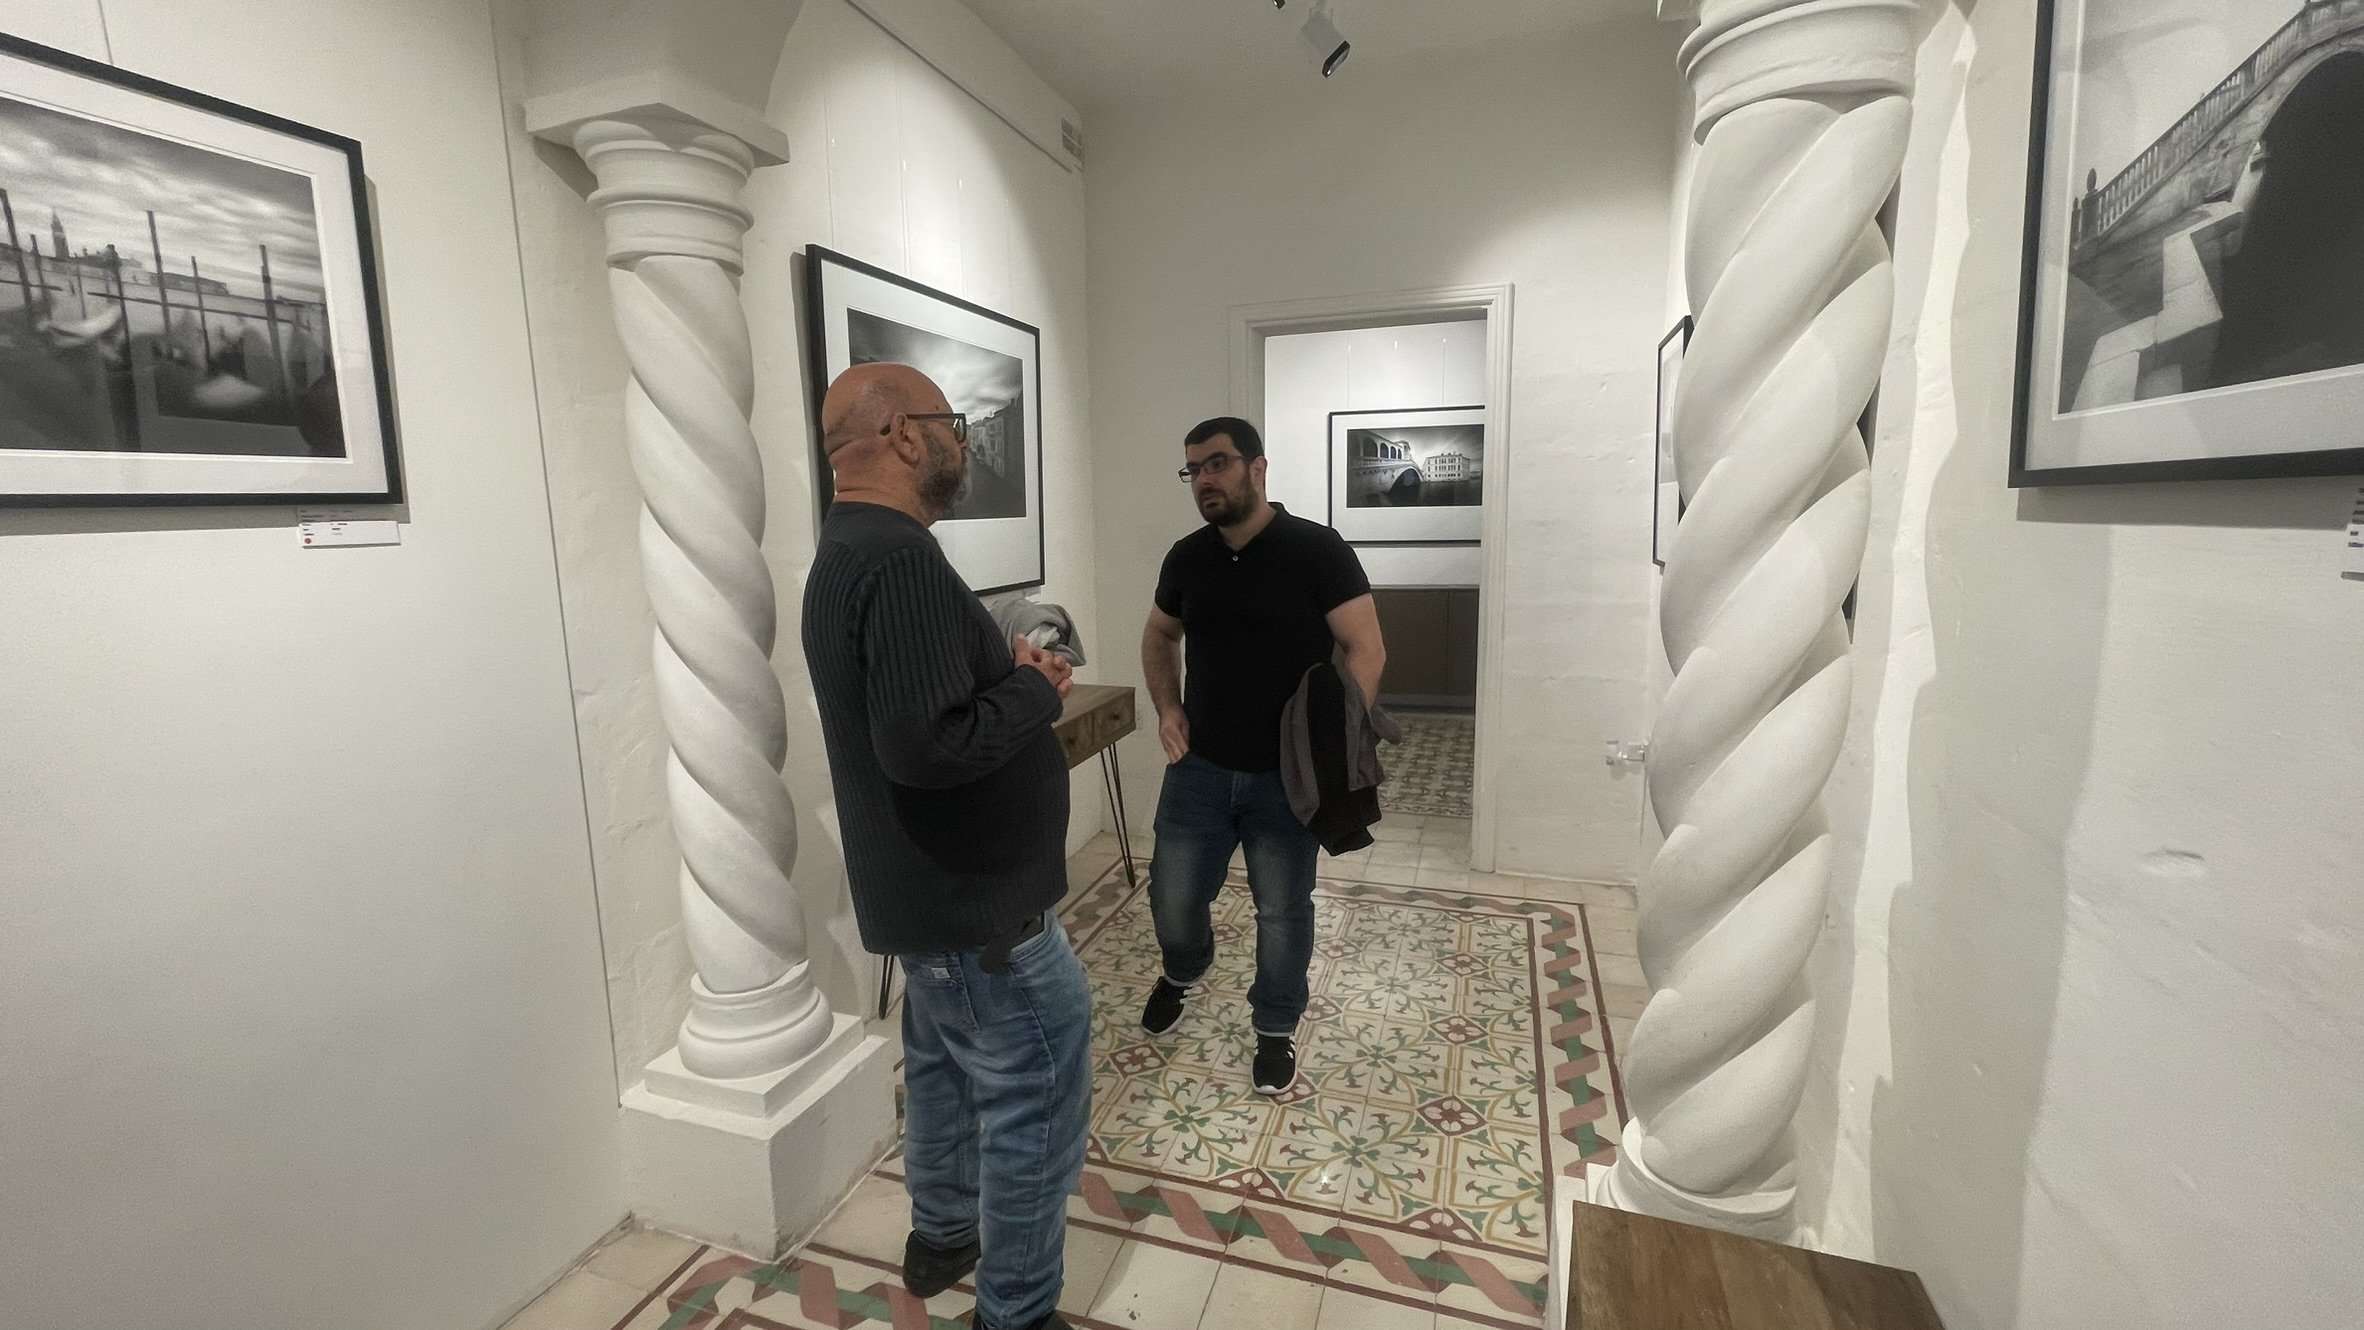
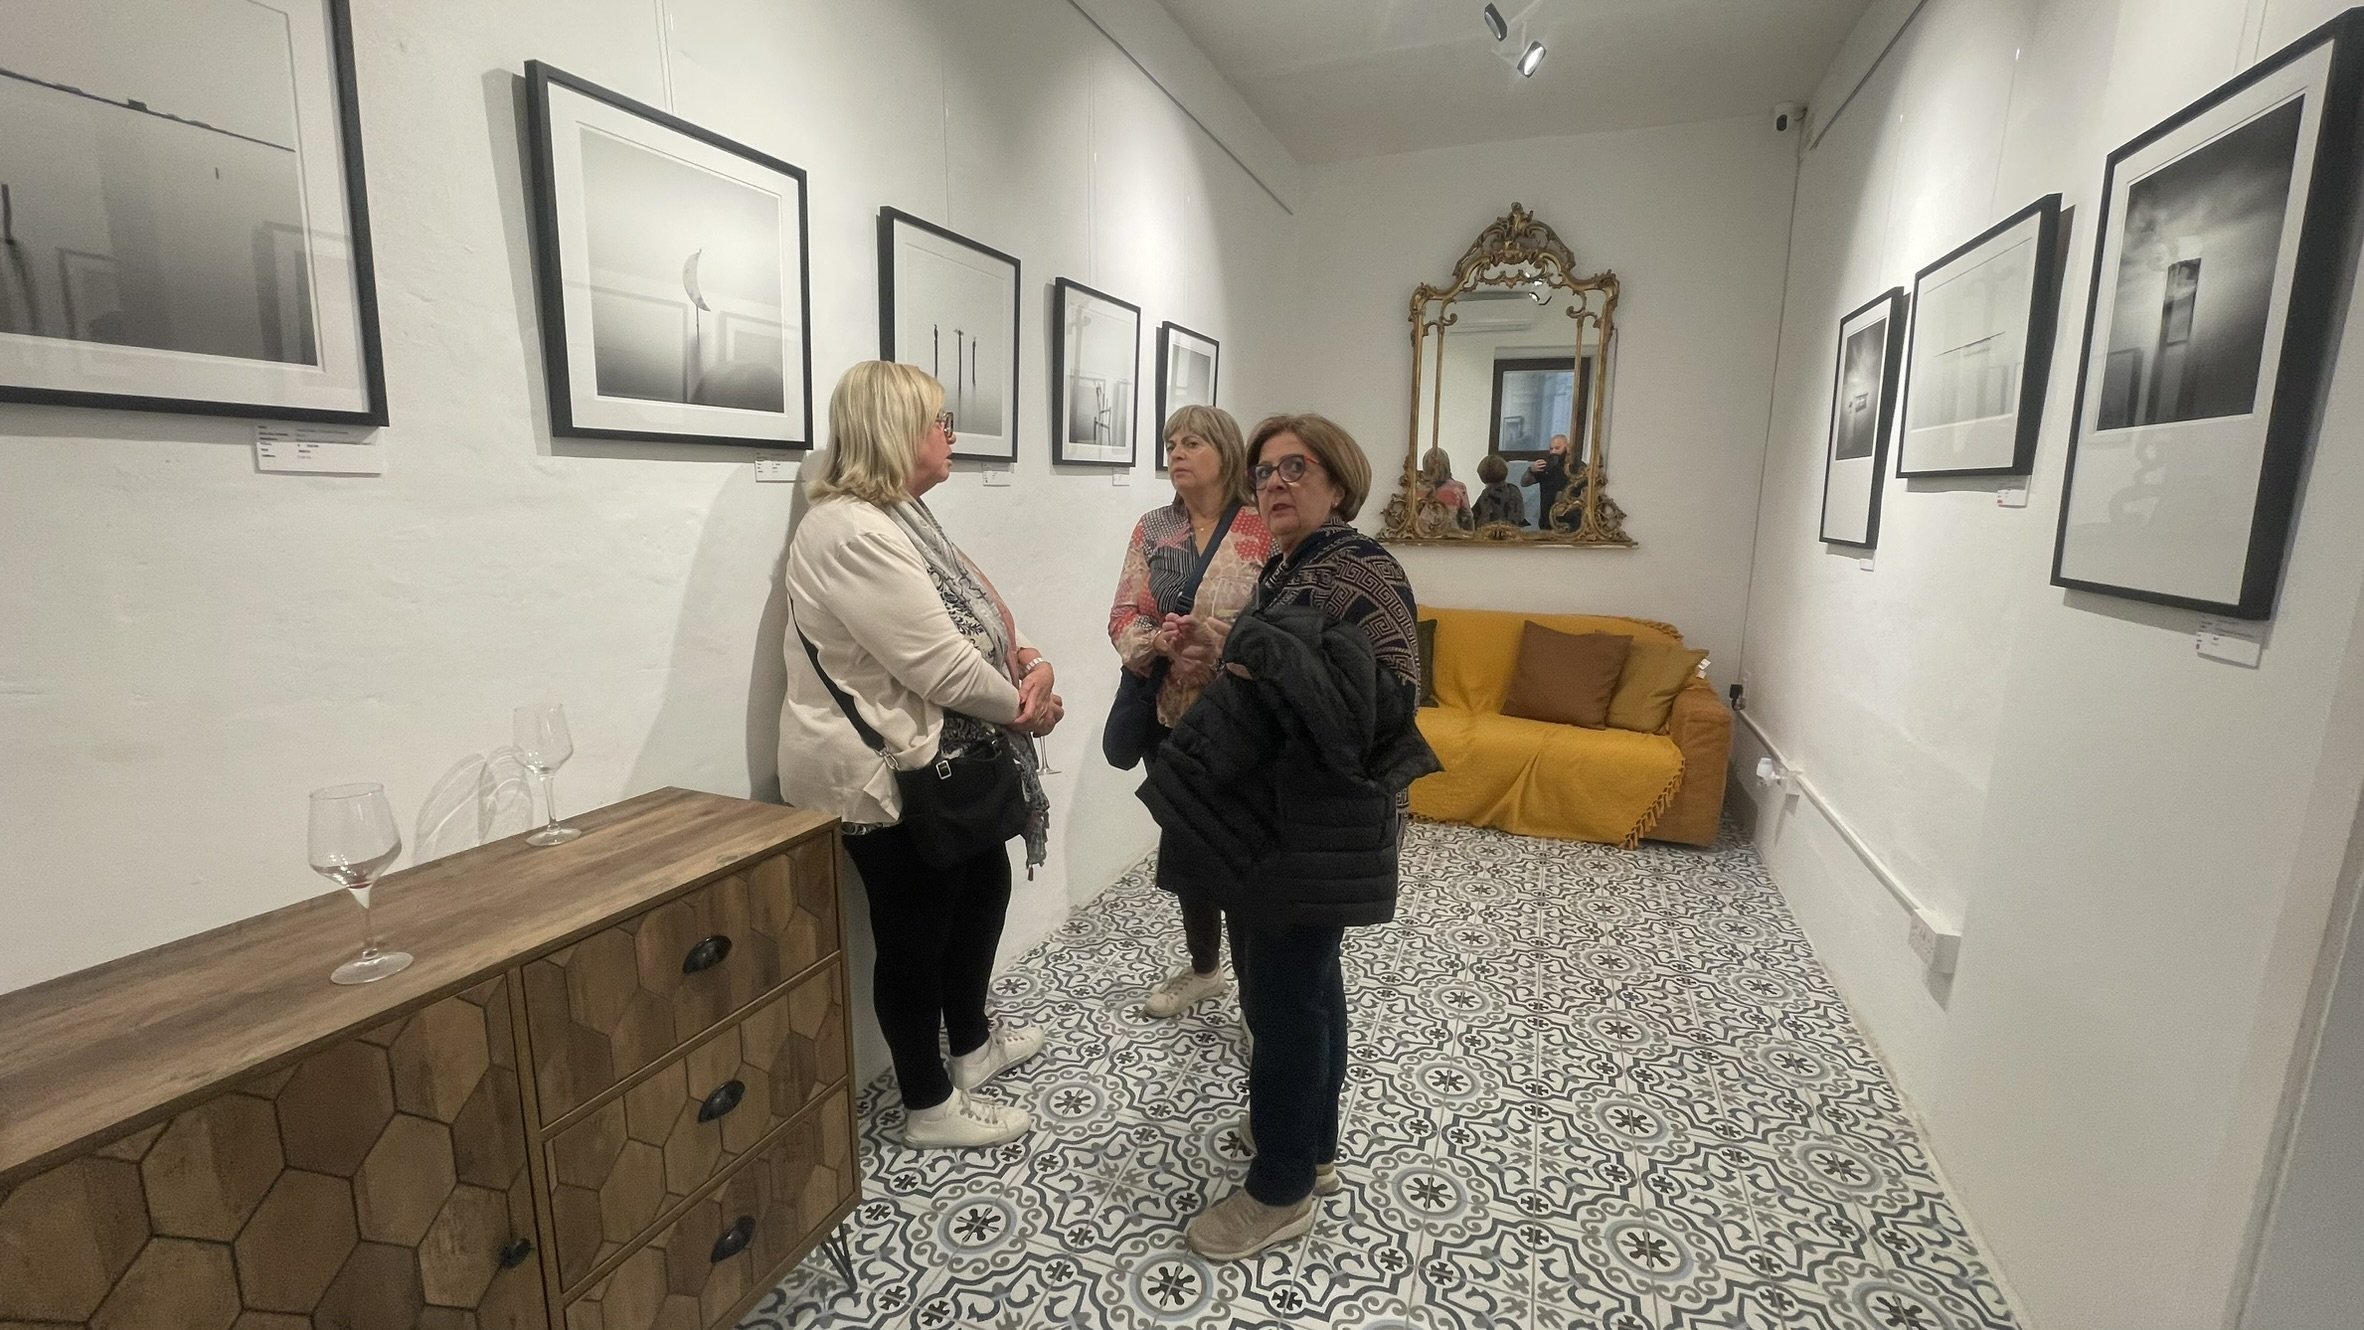
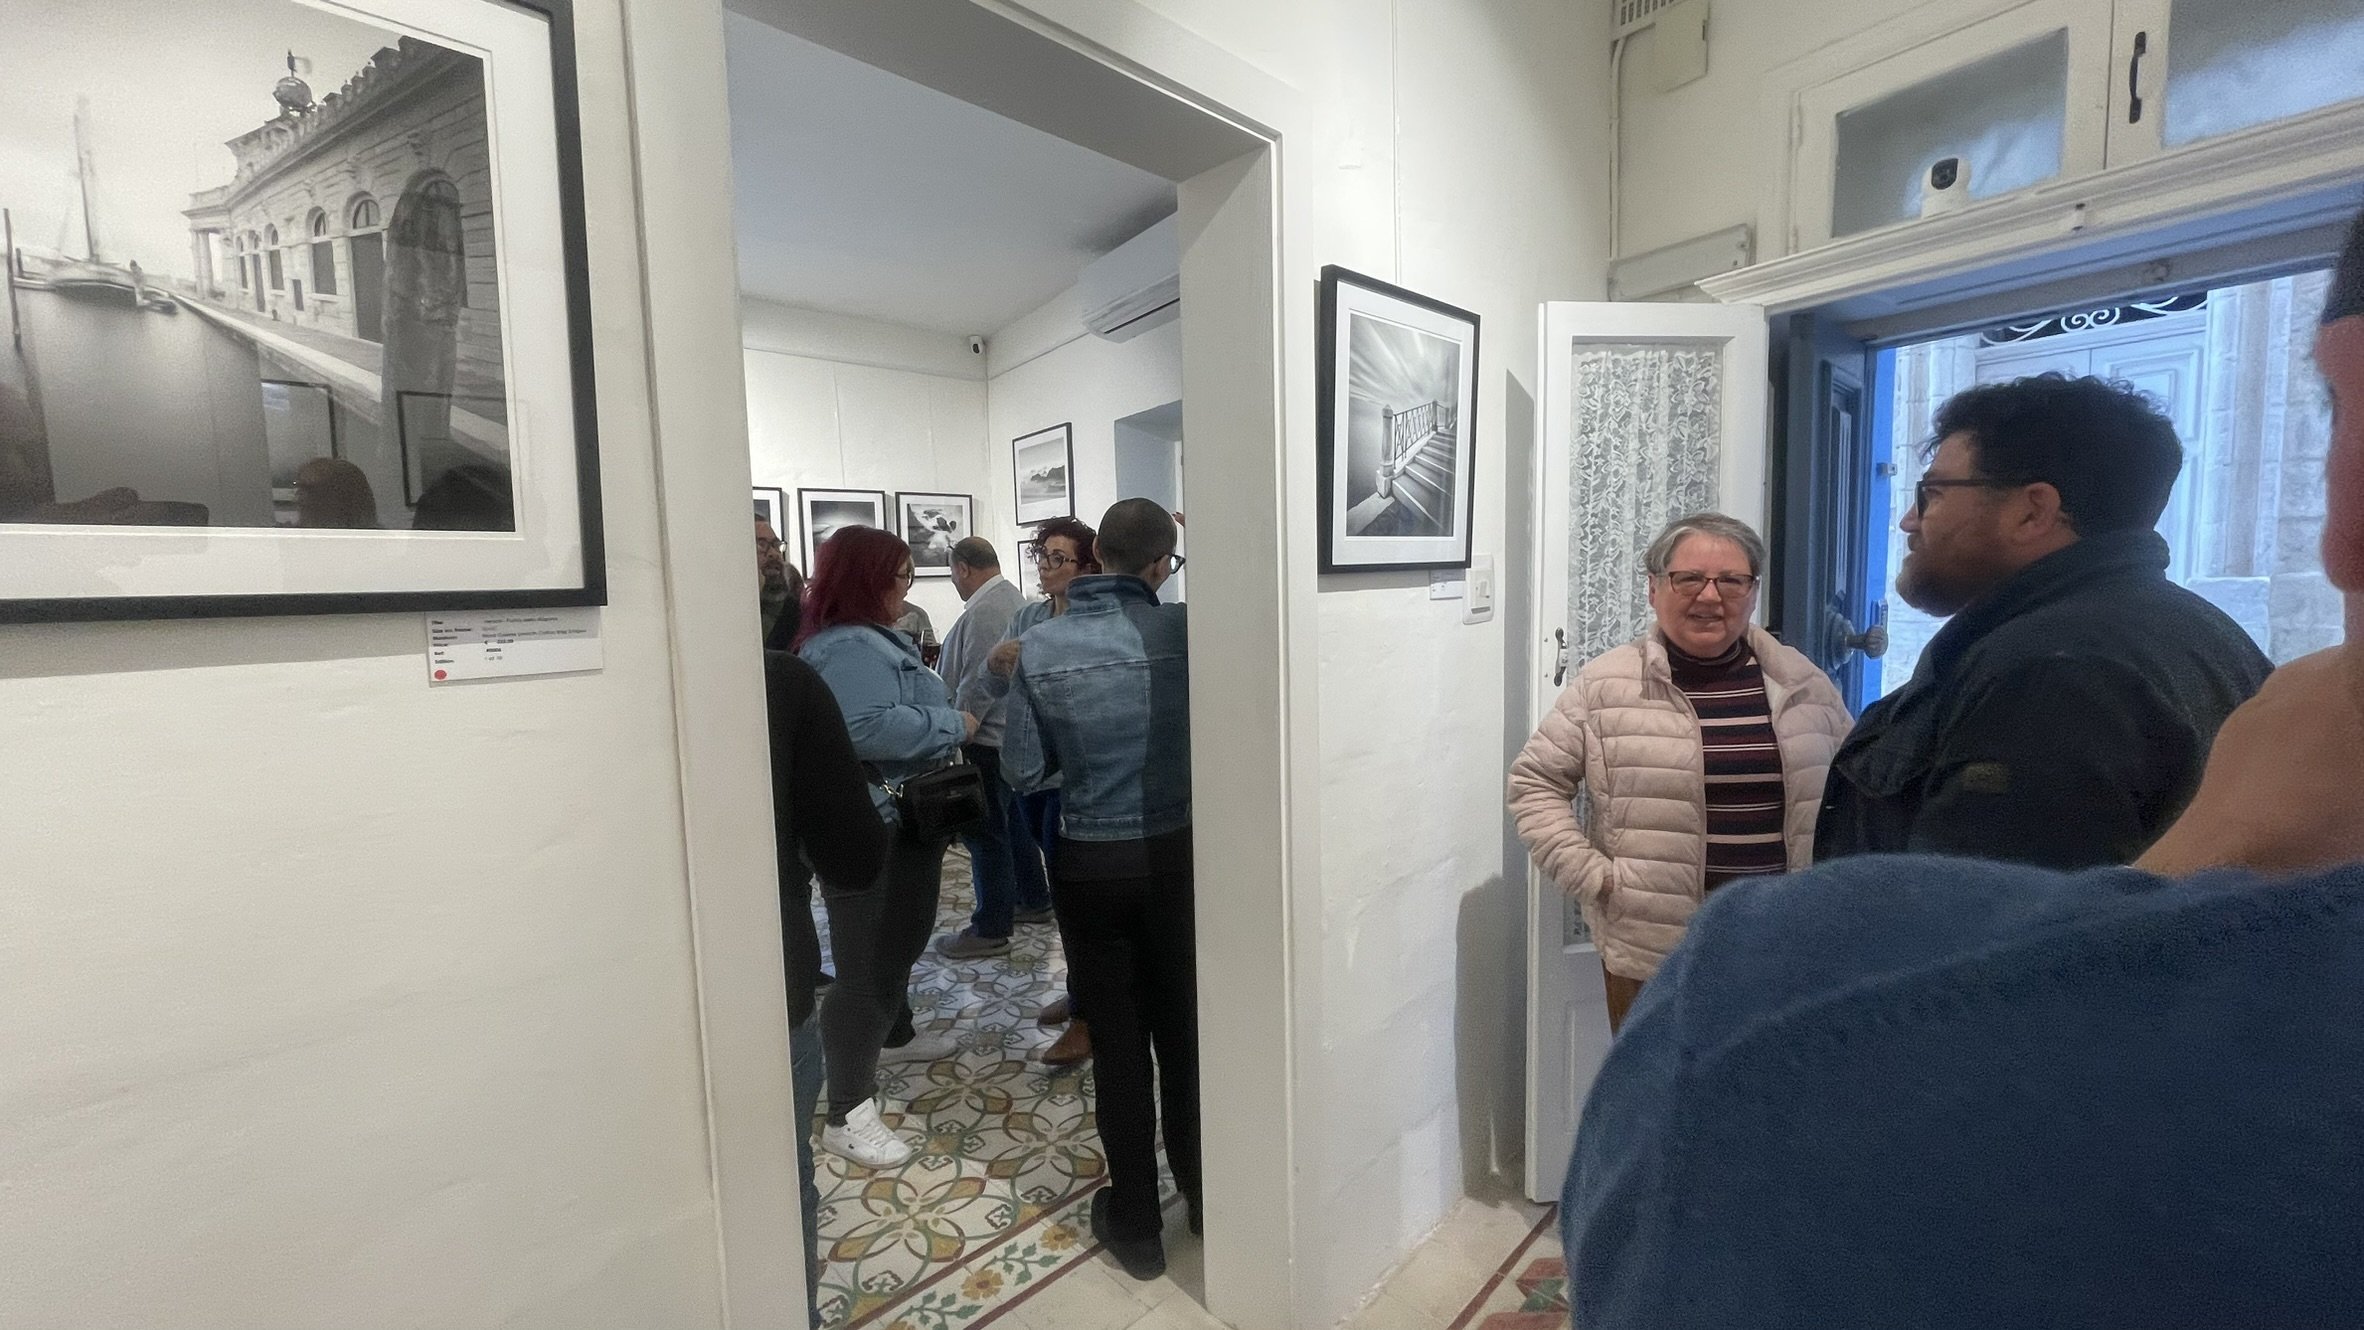
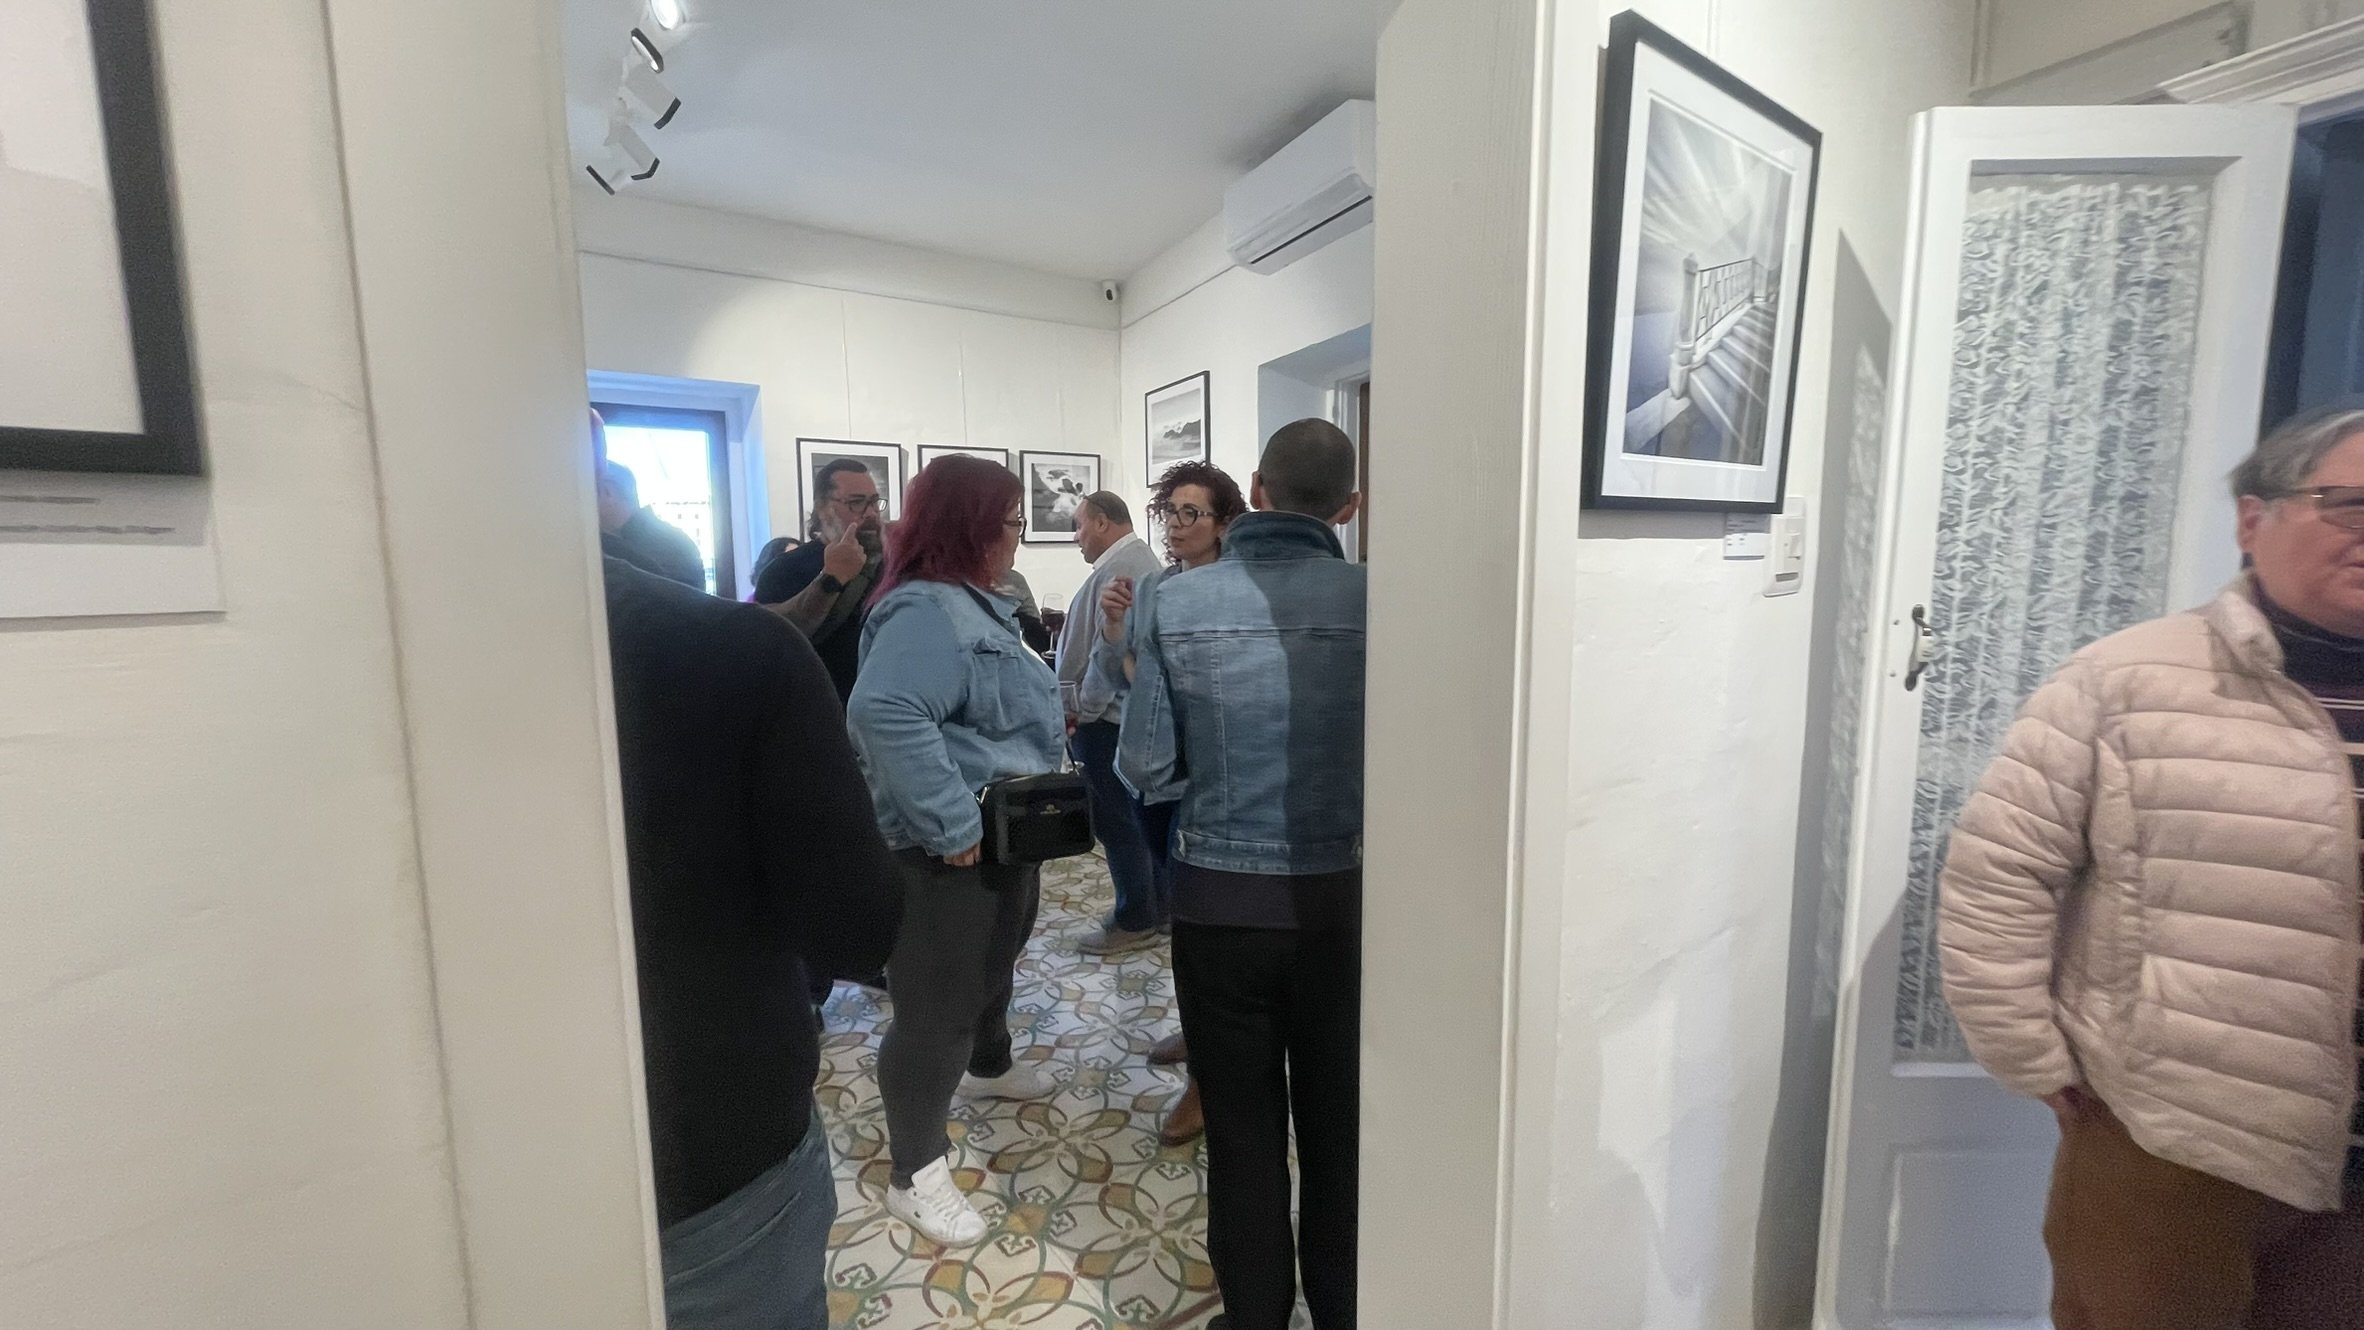
Fine art photography, malta

Keith Ellul Fine Art Photography, Malta

  • home
  • gallery
    • Recent Work
    • Colour
    • Black & White
  • prints
    • Fine art prints registry
  • Solo Exhibitions
    • Harvesting Light - 2016
    • Beyond Space and Time - 2024
  • product reviews
    • LEE100 Holder - Review
    • LEE100 Hood - Review
    • ONDU 6x12 RISE - Review
    • ILFORD GALERIE TESUKI-WASHI ECHIZEN - Review
  • Blog
    • Blog #1 - An Ode to Silence
    • Blog #2 - About Time
    • Blog #3 - Finding Zen
    • Blog #4 - In search of the Genius Loci
    • Blog #5 - Desolate Beauty
    • Blog #6 - Rediscovering Malta
    • Blog #7 - An Inspired Revelation
    • Blog #8 - Time Sculptures
    • Blog #9 - From Chaos come Order
    • Blog #10 - Parallel Dimensions
    • Blog #11 - Moments of Solitude
    • Blog #12 - Stonehenge
    • Blog #13 - Terra Sarda
    • Blog #14 - The importance of choosing the printing lab
    • Blog #15 - Journey to a Solo Exhibition
    • Blog #16 - Photography Adventure in Dorset: A Return to the Jurassic Coast
  • about
  • contact
Beyond space and Time-1 copy.jpg

BeyondSpaceandTimePhotos

BeyondSpaceandTimePhotos

Beyond space and Time-1 copy.jpg

Beyond space and Time-1 copy.jpg

Beyond space and Time-2.jpg

Beyond space and Time-2.jpg

Beyond space and Time-3.jpg

Beyond space and Time-3.jpg

Beyond space and Time-4.jpg

Beyond space and Time-4.jpg

Beyond space and Time-18.jpg

Beyond space and Time-18.jpg

Beyond space and Time-19.jpg

Beyond space and Time-19.jpg

Beyond space and Time-20.jpg

Beyond space and Time-20.jpg

Beyond space and Time-21.jpg

Beyond space and Time-21.jpg

Beyond space and Time-22.jpg

Beyond space and Time-22.jpg

Beyond space and Time-23.jpg

Beyond space and Time-23.jpg

Beyond space and Time-24.jpg

Beyond space and Time-24.jpg

Beyond space and Time-25.jpg

Beyond space and Time-25.jpg

Beyond space and Time-31.jpg

Beyond space and Time-31.jpg

Beyond space and Time-33.jpg

Beyond space and Time-33.jpg

Beyond space and Time-34.jpg

Beyond space and Time-34.jpg

Beyond space and Time-36.jpg

Beyond space and Time-36.jpg

Beyond space and Time-37.jpg

Beyond space and Time-37.jpg

Beyond space and Time-38.jpg

Beyond space and Time-38.jpg

Beyond space and Time-39.jpg

Beyond space and Time-39.jpg

Beyond space and Time-41.jpg

Beyond space and Time-41.jpg

Beyond space and Time-42.jpg

Beyond space and Time-42.jpg

Beyond space and Time-44.jpg

Beyond space and Time-44.jpg

Beyond space and Time-46.jpg

Beyond space and Time-46.jpg

Beyond space and Time-47.jpg

Beyond space and Time-47.jpg

Beyond space and Time-48.jpg

Beyond space and Time-48.jpg

Beyond space and Time-49.jpg

Beyond space and Time-49.jpg

Beyond space and Time-55.jpg

Beyond space and Time-55.jpg

Beyond space and Time-60.jpg

Beyond space and Time-60.jpg

Beyond space and Time-61.jpg

Beyond space and Time-61.jpg

Beyond space and Time-63.jpg

Beyond space and Time-63.jpg

Beyond space and Time-68.jpg

Beyond space and Time-68.jpg

Beyond space and Time-74.jpg

Beyond space and Time-74.jpg

Beyond space and Time-75.jpg

Beyond space and Time-75.jpg

Beyond space and Time-76.jpg

Beyond space and Time-76.jpg

Beyond space and Time-77.jpg

Beyond space and Time-77.jpg

Beyond space and Time-78.jpg

Beyond space and Time-78.jpg

Beyond space and Time-79.jpg

Beyond space and Time-79.jpg

Beyond space and Time-80.jpg

Beyond space and Time-80.jpg

Beyond space and Time-85.jpg

Beyond space and Time-85.jpg

Beyond space and Time-87.jpg

Beyond space and Time-87.jpg

Beyond space and Time-89.jpg

Beyond space and Time-89.jpg

Beyond space and Time-91.jpg

Beyond space and Time-91.jpg

IMG_2278.jpeg

IMG_2278.jpeg

IMG_2341.jpeg

IMG_2341.jpeg

IMG_2343.jpeg

IMG_2343.jpeg

IMG_2425.JPEG

IMG_2425.JPEG

IMG_2428.JPEG

IMG_2428.JPEG

IMG_2430.JPEG

IMG_2430.JPEG

IMG_2432.JPEG

IMG_2432.JPEG

IMG_2433.JPEG

IMG_2433.JPEG

IMG_2434.JPEG

IMG_2434.JPEG

IMG_2437.JPG

IMG_2437.JPG

IMG20240418185306.JPEG

IMG20240418185306.JPEG

IMG20240418185453.JPEG

IMG20240418185453.JPEG

IMG20240418185516.JPEG

IMG20240418185516.JPEG

IMG20240418185619.JPEG

IMG20240418185619.JPEG

IMG20240418185622.JPEG

IMG20240418185622.JPEG

IMG20240418185628.JPEG

IMG20240418185628.JPEG

©2025 Keith Ellul Photography, All rights reserved. Terms & Policies.